Posts

My favorite picture of the day!

Image
Click on any image for a bigger view. Out shooting today... A big thank you to Holly. This is by far my favorite shot of the day! She looks like a beatnik. :) ~kimi~

Another Inked Frame

Image
Click on any image for a bigger view. Happy Friday Everyone!! Here is another copy of my inked frame. This one with a brown or golden background. It is in a 5x7 format. Apply it over your 5x7 image and print. :) My girls playing around last weekend. We had a blast! Here is the download. kimi Kreations brown inked frame and here are a couple of other images from our day out. ~kimi~

Happy Easter

Image
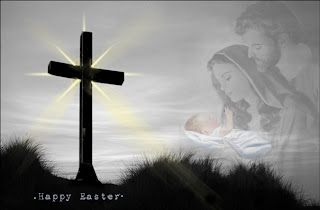
For Easter is not a time for sadness, but a time for rejoicing. Just as spring awakens sleeping flowers and animals after a long cold winter, so Easter awakens us to the wonders and the love all around...

If you were 17, would you think this was cool?

Image
Click on any image for a bigger view. Holly had a friend over named Hannah. (top photo) And at this house if you sit still too long you have to submit to pictures. :) Now they both have new matching myspace pictures. If you were 17, would you think this was cool? I have to tell you... I think they are pretty cool! oh, the girls are cool too. ;) ~kimi~

Let's learn something NEW!

Image
Click on any image for a bigger view. Let's learn the how to get that raised look from the safety pin. Erase the area that will look like it is going through the paper. (hard edge brush) Create a new blank layer above the layer that you want the effect applied to. (in this case, it was the frame layer. Go to Edit, Fill and choose 50% gray. Change your blend mode to overlay . Select your burn tool, set to midpoints at around 18-20%. Select a very small soft brush. Zoom in very close. Run your burn tool in a straight line a few times to make the shadow area on both sides.. Select your dodge tool, set to highlights at around 12-14%. Still using a very small soft brush. Run it over the top area to give a lightened effect. Zoom back out and lower the opacity on the fill layer because I always tend to overdue the effect. ;) Do let me know if you give it a try? Happy Scrapping! ~kimi~

Happy Birthday to me...

Image
Click on image for a bigger view. A Present for you!! Here is the textured paper that I promised. I also made an overlay for the Up and Running class over at JessicaSprague.com . The overlay is applied to the paper in my example image. Give it a try on any of your scrap papers. Here is the download with the paper and the overlay included. kimi's birthday present I am hoping for some time today to play with my camera but it looks like work is calling. Have a great weekend everyone! ~kimi~

Still adding TEXTURE to our images.

Image
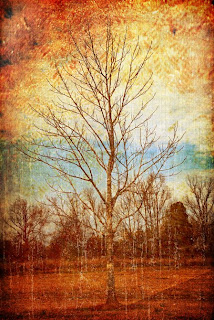
Click on any image for a bigger view. Take an ordinary image and make it extraordinary!! A plain ole tree, all alone. I added about 4 if not 5 different textures to this image. They were all added on separate layers above the tree picture. Changing blend modes and lowering opacities as I went. This look is very in right now. Remember you can erase the areas that you don't want to have texture. I hope you give your kreative juices a try!! Here is a site with some really great free grunge textures . Matt's lightroom killer tips has a wonderful free grunge texture. It is on the post dated January 28th, at the bottom of the page. It says click here to download the aged texture image . That one is on my image. I have a free scrap paper with a texture overlay added that will be available Friday morning. ...see you then!!