Picture Painting Kreations!

 Click on image for a bigger view.
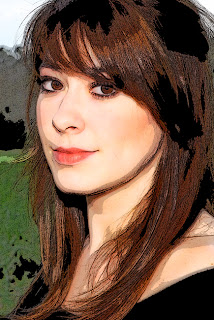
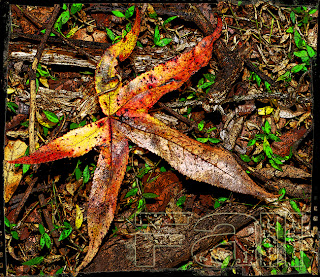
He is is quick and easy way to make your pictures look like paintings.
Make all corrections to your image. (levels ect.)
Make two duplicates. Ctrl J twice.
Edit: If you are using an image of a person... add a small amount of gaussian blur to it first. It will smooth out the skin tones.
Hide your top layer. (turn off the eye)
Let's work on the layer right above your original. Highlight that layer. Go to filter, artistic, poster edges. Move your setting to: 1, 1, and 1. (If you still have your top layer showing you will not see any changes.)
Now lets work on the top layer. Highlight the top layer. Go to filter, stylize, find edges. Ctrl U to remove the color. (move your saturation slider to -100)
Here is the fun part: with your top layer still highlighted. Click on the word normal in your blend mode palette. It will highlight the word. Use the up and down arrow keys on your keyboard to scroll thur your blend modes until you find the look you like.
The image of my daughter Kristen was set on soft light and the fall image was set to overlay.
I would love to see your painting kreation. Come and join us here.
Photoshop Creative Elements homework.
Have Fun!
Comments
I must be doing something wrong. When I go through the steps and choose Soft Light as you did, I get amoeba looking places on the face and very soft color. Help, if this makes sense. Thank you.
Susan
Post back if you are still stuck.
Thank you. Your daughters are gorgeous. So, age and beauty had a lot to do with it. I reduced the opacity and the amoebas went away. Also, I did my car and that looked better. I love the technique! Thank you for teaching us!! Susan
I'm glad you worked it out! :)